
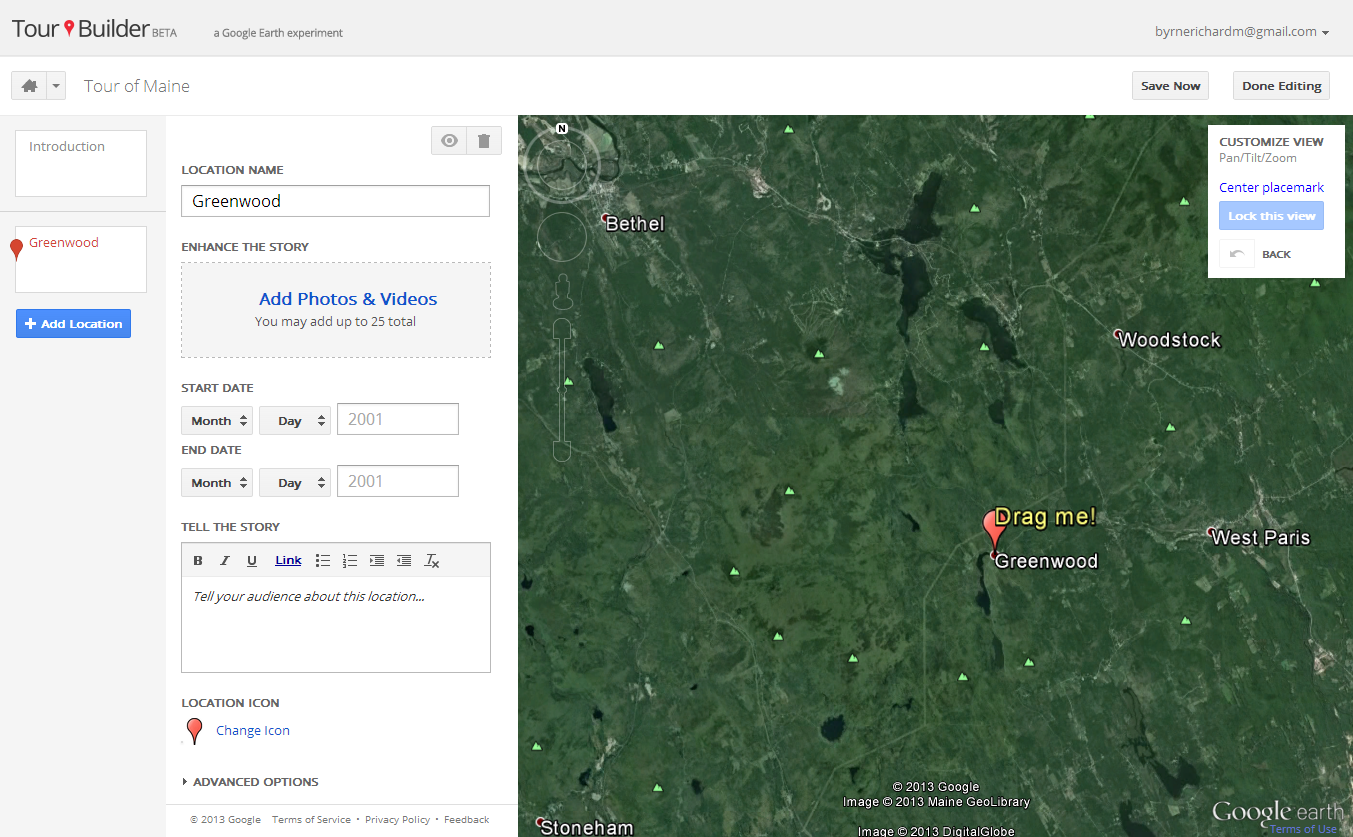
To create a tour with Tour Builder you need to install the Google Earth Browser Plug-in and you need to have a Google Account. Once you have those two things and you're signed into Tour Builder just follow the clear Tour Builder directions to build your tour. The first step is naming your tour and adding a cover image. Next you will search for your first location then click "add to tour" to add the location to your tour. You'll then be prompted to add images, videos, and text to your placemark. Each placemark can have up to 25 images and videos. The images and videos will be displayed as a gallery rather than as a linear stack of images as is the case if you edit placemarks in Google Maps or Earth. Repeat the process of adding locations and placemarks until you finish telling your story.

Tours created through Tour Builder are private until you decide to share them. You can see my sample tour here.
Applications for Education
Tour Builder could prove to be a great tool for students to use to create geo-located book reviews, to tell stories from their own lives, or to develop geo-located research projects. One of the US History projects that I've done with Google Earth is to have students create a series of placemarks about battles of the Revolutionary and Civil Wars.
0 comments:
Post a Comment